Point-cloud data has transformed how industries capture, document, and replicate physical environments in digital form. Today, converting point clouds into accurate CAD models is fundamental for sectors such as architecture, engineering, construction, manufacturing, and heritage preservation. Yet, the process is far from trivial. High-accuracy outcomes require a systematic approach—combining advanced technology, specialized skills, and best-practice workflows.
This in-depth guide walks you through each step: from capturing point-cloud data, preparing and cleaning it, through to the final transformation into precise CAD models. We also highlight the most common challenges, best practices, and the role of specialized 3D scanning services and point cloud to CAD experts in delivering professional results. All references and resource links are included for further reading.
Table of Contents
- 1. Understanding Point-Cloud Data
- 2. Planning the Capture
- 3. Acquiring Point Clouds
- 4. Preparing and Cleaning Point Clouds
- 5. Registration and Alignment
- 6. Segmentation and Feature Extraction
- 7. Converting Point Cloud to CAD
- 8. Model Validation and Quality Control
- 9. Exporting and Sharing CAD Models
- 10. Challenges and Best Practices
- 11. Why Use Professional Services?
- 12. Case Studies and Applications
- References
1. Understanding Point-Cloud Data
A point cloud is a set of data points in space, typically produced by 3D scanners or photogrammetry techniques. Each point has a set of X, Y, Z coordinates (sometimes with RGB color and intensity). Together, these points form a “cloud” representing the external surfaces of physical objects or environments with extraordinary detail.
- Laser scanning (LiDAR): Captures millions to billions of points in real-world coordinates. Extremely accurate and widely used in building surveys, infrastructure, and industrial plants.
- Photogrammetry: Uses overlapping photographs and software to reconstruct 3D geometry. Best for objects, heritage sites, or where laser scanning is impractical.
- Structured light scanning: Projects patterns onto objects and measures deformation to generate points. Used for detailed part inspection.
The value of point-cloud data lies in its richness and precision—but this also brings challenges. Raw point clouds are often noisy, redundant, and hard to interpret without the right processing and software.
2. Planning the Capture
The path to a high-quality CAD model begins before any data is captured. Careful planning maximizes efficiency, ensures coverage, and minimizes errors later.
- Define the goal: Are you creating as-built documentation, reverse-engineering a part, or modeling a site for renovation? The end-use determines the required accuracy and level of detail (LOD).
- Choose the right method: For large buildings or sites, terrestrial laser scanning (TLS) is typically best. For smaller parts or heritage objects, structured light or photogrammetry may suffice.
- Plan the scan positions: Overlapping scans are needed for full coverage. Take note of occlusions (hidden or hard-to-reach areas).
- Document ground control points: For geo-referenced projects, establish fixed reference points to allow merging with survey or GIS data later.
Professionals offering 3D scanning services bring both the equipment and the expertise to optimize planning for accuracy, speed, and cost.
3. Acquiring Point Clouds
Data acquisition is typically the fastest part of the workflow—but it is critical. Modern scanners can capture millions of points per second, creating a complete digital “snapshot” of the environment.
- Terrestrial laser scanners (e.g., Leica, FARO, Trimble): Mounted on a tripod, these provide highly accurate and repeatable results for architecture, civil, and industrial projects.
- Mobile/handheld scanners: Useful for quick captures or hard-to-reach areas. Some tradeoff in accuracy.
- Drone (UAV) LiDAR or photogrammetry: Ideal for large sites, roofs, and inaccessible exteriors.
- Photogrammetry rigs: Used for small-scale and artifact modeling, requiring careful photo alignment.
When time and quality matter, outsourcing to an expert team or using dedicated 3D scanning services eliminates risk and ensures you begin with accurate data.
4. Preparing and Cleaning Point Clouds
Raw point clouds can contain millions to billions of points, including unwanted artifacts—people walking through scans, reflections, stray objects, or sensor noise. Before modeling, the cloud must be cleaned and organized:
- Noise filtering: Remove stray points and outliers caused by dust, reflective surfaces, or moving objects.
- Decimation: Reduce point density to manageable levels for processing (without sacrificing accuracy in areas of interest).
- Color balancing: If color is needed, adjust for lighting variations across different scans.
- Clipping and cropping: Focus on the area of interest; remove extraneous background data.
Most point-cloud processing software (Autodesk ReCap, Leica Cyclone, CloudCompare, FARO Scene, etc.) includes robust tools for cleaning and optimizing your dataset.
5. Registration and Alignment
If your scan consists of multiple positions or sources, they must be registered—aligned and merged into a single, unified dataset.
- Target-based registration: Uses spheres, checkerboards, or markers placed at known locations during scanning.
- Cloud-to-cloud registration: Aligns scans based on overlapping geometry, using algorithms such as ICP (Iterative Closest Point).
- Geo-referencing: Links the cloud to real-world coordinates using survey data or GPS points.
Accurate registration is essential. Errors here will propagate into your CAD model. Many professionals rely on semi-automated tools with manual adjustment for critical control, especially for high-precision projects like plant as-builts or infrastructure.
6. Segmentation and Feature Extraction
Before modeling, it’s important to break the point cloud into meaningful sections—walls, floors, pipes, machinery, roofs, or structural elements. This segmentation process aids efficiency and accuracy during the CAD conversion stage.
- Manual segmentation: Technicians select and classify regions by hand, using cross-sections or bounding boxes.
- Automatic feature extraction: Advanced software can automatically identify planar surfaces, cylinders (pipes), spheres (tanks), and more.
- Hybrid approaches: Most workflows combine both—auto-extracting simple elements, then manually refining complex features.
Well-segmented data accelerates the point cloud to CAD workflow and reduces mistakes in modeling.
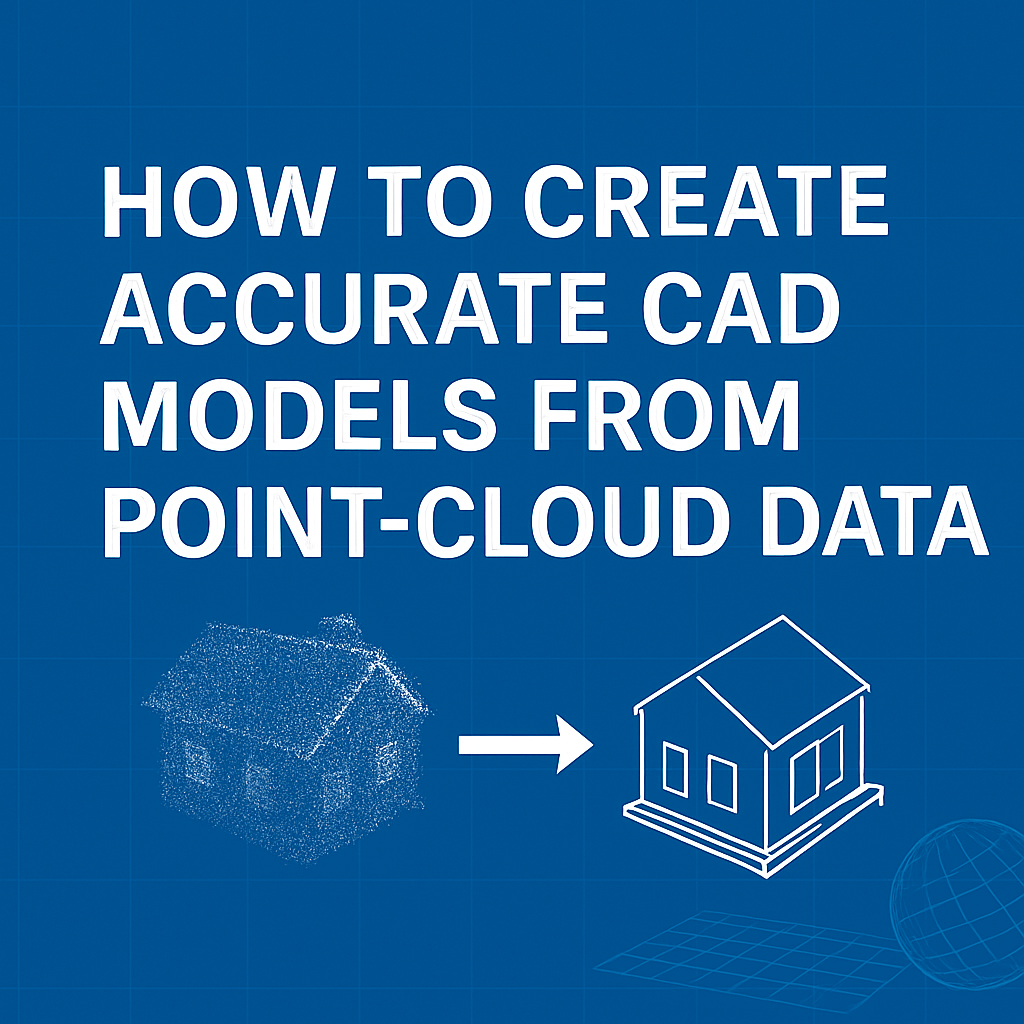
7. Converting Point Cloud to CAD
This is the core phase where data becomes a usable 2D or 3D model. The process is commonly referred to as point cloud to CAD. The choice of software and approach depends on the type of model you need:
- 2D CAD drawings: Useful for floor plans, elevations, and sections. Points are traced into polylines and geometry using references from the cloud.
- 3D solid modeling: Surfaces and solids are built directly atop the point cloud, creating accurate digital twins or as-built models. Software such as AutoCAD, Revit, SolidWorks, or MicroStation are commonly used.
- Scan-to-BIM: For buildings, the process involves creating parametric BIM (Building Information Modeling) elements—walls, windows, doors, slabs—matching the cloud data as closely as possible. This is essential for renovations, facility management, or construction verification.
Key modeling techniques include:
- Sectioning: Cut cross-sections through the cloud and use them as guides for tracing.
- Snapping: Snap geometry directly to points for maximum accuracy.
- Primitives fitting: Automatically fit planes, cylinders, spheres, etc., to speed up modeling of repetitive structures (pipes, ducts, tanks).
- Surface modeling: For organic shapes or complex objects, generate meshes or NURBS surfaces before converting to solid CAD entities.
For industries with tight tolerances or regulatory standards, working with point cloud to CAD specialists ensures models meet all project requirements.
8. Model Validation and Quality Control
Even the best modeling efforts require rigorous validation. Errors, omissions, or misalignments can have major impacts, especially for engineering or construction.
- Deviation analysis: Overlay the finished CAD model onto the point cloud and measure distances at thousands of sample points. Specialized tools create color maps showing areas of deviation beyond specified tolerances.
- Dimension checks: Cross-check critical measurements against original design documents or field measurements.
- Review cycles: Stakeholders review the model for completeness and accuracy before final sign-off.
Quality control must be built into every phase—cleaning, registration, modeling, and export. Mistakes discovered late can require costly rework.
9. Exporting and Sharing CAD Models
Once validated, models are exported for downstream use. The target format depends on the application and end-users:
- DWG/DXF: Standard for 2D and 3D CAD workflows (AutoCAD, MicroStation, etc.).
- STEP/IGES: For 3D solids in manufacturing and engineering (SolidWorks, CATIA, etc.).
- RVT/IFC: For BIM workflows (Revit, ArchiCAD, Tekla).
- OBJ/FBX/STL: For visualization, simulation, and 3D printing.
Include all necessary metadata (project info, tolerances, accuracy statements) and document any limitations of the model for transparency.
10. Challenges and Best Practices
The scan-to-CAD process is powerful, but not without pitfalls. Recognizing common challenges and following best practices ensures better outcomes:
- Data overload: Too many points can overwhelm software and hardware. Decimate wisely, focusing density where needed.
- Occlusions and shadowing: Plan scan positions to minimize areas hidden from the scanner.
- Registration drift: Poor alignment between scans leads to inaccuracies. Use fixed references or survey points where possible.
- Inconsistent LOD: Maintain a consistent level of detail to avoid “patchy” models.
- Human error: Manual modeling is subject to mistakes—validate at every step and use automated tools where appropriate.
- Software compatibility: Test exports to ensure they work seamlessly in the target environment.
Sticking to a disciplined workflow and working with experienced professionals or proven enginyring.com service providers reduces risk and improves results.
11. Why Use Professional Services?
While DIY scanning and modeling solutions exist, many organizations opt for specialized partners—especially for complex or high-value projects. Here’s why:
- Expertise: Skilled technicians understand scanning principles, CAD/BIM standards, and sector-specific requirements.
- Equipment: Professional-grade scanners and software deliver accuracy and speed beyond most in-house capabilities.
- Efficiency: Faster turnaround, fewer mistakes, and minimal disruption to your operations.
- Quality assurance: Rigorous QA at every step—capture, processing, modeling, and delivery.
- Compliance: Ability to meet industry and regulatory standards for documentation and digital twins.
Companies like enginyring.com offer end-to-end 3D scanning services and point cloud to CAD modeling solutions. This is particularly valuable for projects with tight deadlines, high accuracy demands, or limited internal resources.
12. Case Studies and Applications
Architecture, Engineering, and Construction (AEC)
In the AEC sector, scan-to-CAD is used for as-built documentation, renovation planning, and clash detection. For example, before a hospital expansion, laser scanning provides a full digital record of existing structures, enabling precise planning and avoiding costly surprises during construction.
Industrial Plant Modeling
Factories and refineries frequently use point-cloud scanning to update outdated documentation. 3D models help with plant modifications, safety planning, and maintenance, reducing shutdowns and risks.
Heritage Preservation
Historical buildings and artifacts are digitally preserved using high-resolution scans. Accurate 3D models support restoration, virtual tours, and even reproduction via 3D printing.
Manufacturing and Quality Control
Reverse engineering of components or assemblies requires precise scan-to-CAD workflows. Deviations from design specs are quickly identified, speeding up inspection and product development.
Infrastructure and Civil Engineering
Roads, bridges, and tunnels are captured in 3D for asset management, retrofitting, and compliance audits.
References
- 3D scanning services – enginyring.com
- Point cloud to CAD – enginyring.com
- enginyring.com
- Autodesk ReCap (product page)
- Leica Cyclone (product page)
- CloudCompare (open-source software)
- FARO Scene (product page)
- US National Park Service: 3D Documentation of Historic Sites
- Scan-to-BIM and Scan-to-CAD industry white papers (Autodesk, Leica, FARO)
Summary: Converting point-cloud data into accurate CAD models is a multi-step, multidisciplinary process. Success depends on careful planning, professional-grade scanning, rigorous cleaning and registration, skilled modeling, and diligent quality control. By leveraging expert 3D scanning services and point cloud to CAD providers, you can ensure results that are fit for purpose—whether for design, construction, manufacturing, or preservation.