Managing cloud model caches in Revit is a critical but often overlooked task for maintaining performance and avoiding corrupted data. With the release of Revit 2026, Autodesk introduced a significant change in how cloud cache locations are configured, which inadvertently broke compatibility with existing cleanup utilities. The recent BIM Cache Cleaner 3.5.3 update directly addresses this issue, ensuring BIM coordinators and technicians can maintain clean, efficient workstations. This tool is essential for anyone using Revit Cloud Worksharing or BIM 360, as it automates the detection and removal of orphaned cache files that consume valuable disk space and can lead to model synchronization errors. Understanding this update is key to streamlined AEC project collaboration.
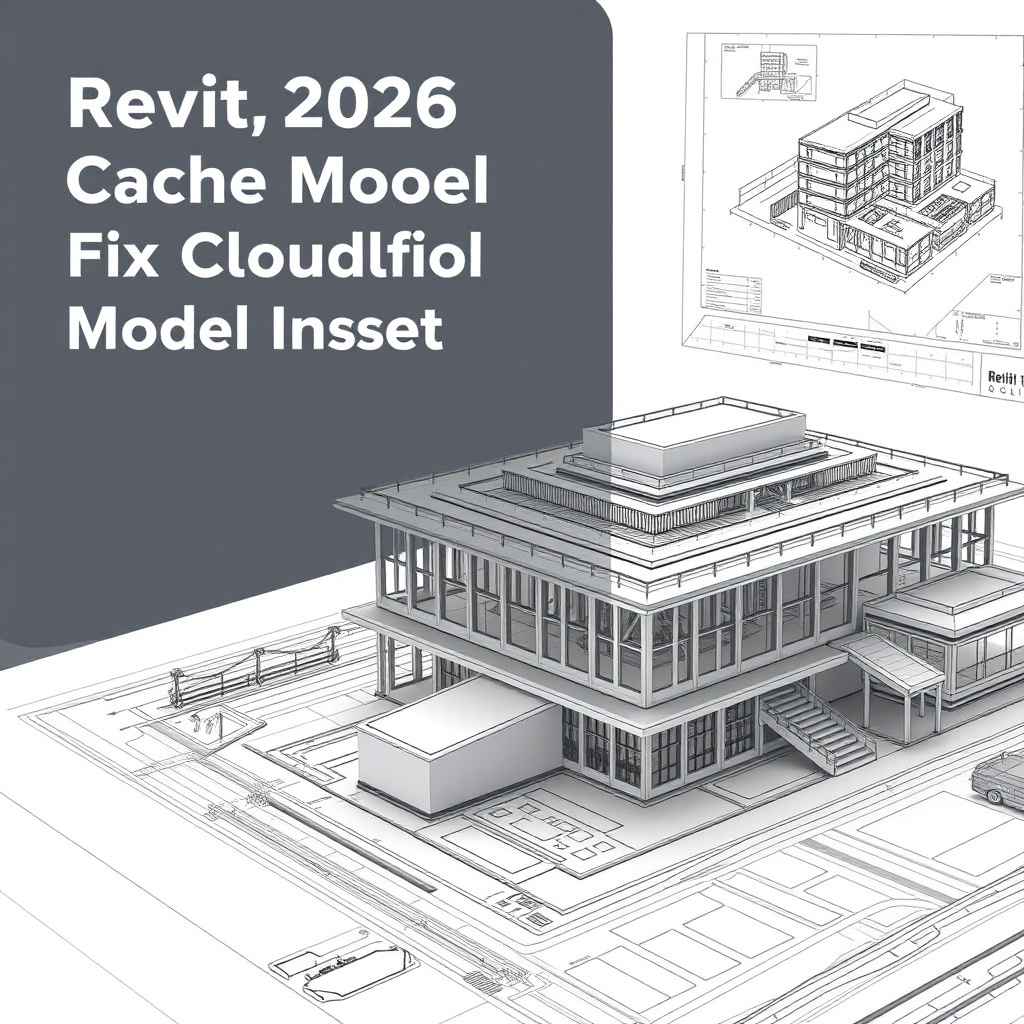
Understanding Revit 2026’s New Cache Configuration
Prior to Revit 2026, the location for cloud model caches was typically dictated by the ProjectPath setting within the [Directories] section of the Revit.ini file. This path was where Revit stored local copies of cloud-hosted models for faster access. However, Revit 2026 introduced a dedicated, more flexible parameter: [CloudModelCache] CacheLocation=.... This change allows firms to redirect the entire cloud cache to a different drive or network location, which is particularly useful for managing disk space on C: drives or aligning with IT storage policies. The problem arose because many cache-cleaning utilities, including older versions of BIM Cache Cleaner, were still hardcoded to look only at the legacy ProjectPath. In testing scenarios where ProjectPath was empty and CacheLocation was set, these tools would scan the wrong directory, completely missing the active cache and failing to perform any cleanup.
What Broke and Why It Matters for Your Workflow
The oversight meant that for Revit 2026 users who adopted the new CacheLocation directive, BIM Cache Cleaner 3.5.2 and earlier versions became ineffective. The tool would scan the default or empty path, find no cache to clean, and provide a false sense of security while gigabytes of outdated and potentially corrupted cache files accumulated unnoticed. This directly impacts project performance. Bloated cache directories can slow down model synchronization, increase the risk of file conflicts, and, in worst-case scenarios, lead to data corruption that disrupts the entire team’s workflow. For firms engaged in complex BIM coordination, where multiple disciplines are constantly synchronizing changes, proactive cache management isn’t just about disk space—it’s a fundamental aspect of project health and data reliability. Reliable tools that adapt to software changes are indispensable.
Key Fixes and Improvements in Version 3.5.3
The BIM Cache Cleaner 3.5.3 update introduces targeted fixes to restore full functionality with Revit 2026. The primary fix is the implementation of a smarter cache discovery logic. The scanner now prioritizes checking the CacheLocation value within the [CloudModelCache] section of Revit.ini. If this path is present and valid, the tool uses it as the definitive cache directory. Only if CacheLocation is not set does it fall back to the legacy ProjectPath or the system default location. This ensures accurate cache detection regardless of how a firm has configured Revit. Beyond this core fix, the update boasts more robust handling of non-standard or custom cache paths, making it more resilient to varied IT environments. The developer also notes internal improvements, including a simplified filesystem access layer and a basic test harness, which contribute to the tool’s overall stability and reliability for reality-capture specialists and surveyors who manage large datasets.
Practical Steps for Updating and Verifying Your Cache Cleanup
To ensure your team benefits from the improved cache detection, follow these practical steps:
- Close All Revit Instances: Before any cache operation, completely shut down all versions of Autodesk Revit. Running processes can lock cache files and prevent cleanup.
- Download the Latest Version: Obtain BIM Cache Cleaner 3.5.3 or later from a trusted source, such as the official repository at
revit.com.au. - Run the Tool and Verify Detection: Launch the cleaner. It should now automatically identify the correct cache location, whether it’s the new
CacheLocationpath or the default. The interface should display the models it finds in that directory. - Review and Clean: The tool will extract metadata like model name and project without opening Revit. Carefully review the list of detected cache files and select the ones you wish to remove—typically those from completed projects or known corrupted files.
- Confirm and Monitor: Execute the cleanup and verify that disk space has been freed. Make cache clearance a regular part of your project lifecycle or BIM execution plan, akin to standard procedures for clearing BIM 360 cache.
Conclusion: Maintaining a Robust BIM Environment
The BIM Cache Cleaner 3.5.3 update is a crucial maintenance release that patches a significant compatibility gap introduced by Revit 2026. By correctly detecting the new CacheLocation parameter, it empowers architects, CAD technicians, and project managers to maintain clean workstations, preventing performance degradation and data corruption. Effective digital asset management extends beyond the model itself to the supporting infrastructure like caches. For teams seeking comprehensive support in their BIM and AEC workflows, from initial survey data integration to final project delivery, leveraging specialized expertise can be invaluable. Services like those offered at ENGINYRING.com complement these tools by providing the technical oversight needed to optimize your entire BIM pipeline. Always ensure your utility belt of tools, much like those curated at arena-cad.com, is kept up-to-date to match the evolving software landscape.